In order to really savor the last days of summer, I felt that the girls needed the appropriate diaphanous attire.
 My real excuse for sewing these up so close to the end of summer dress wearing season was the annual family photo shoot (and my deep denial about the cold weather to come). We don’t have the photos back from our photographer yet, so my backyard versions will have to do for now.
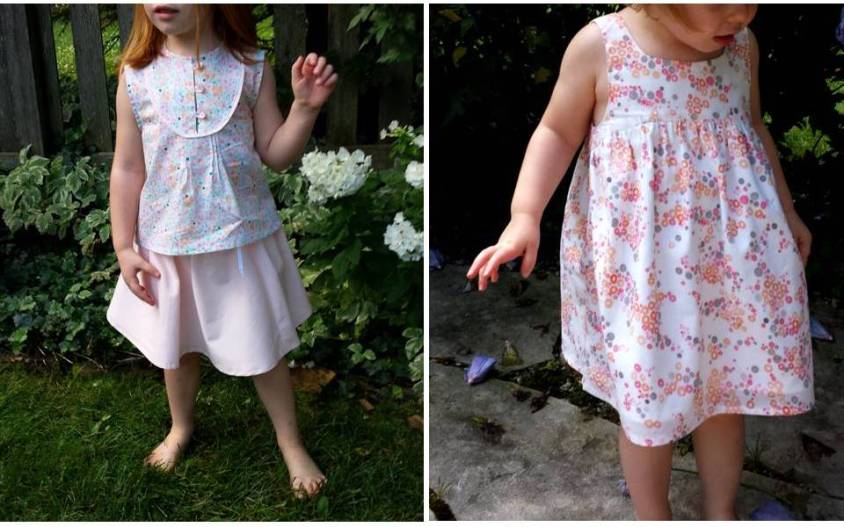
I wanted the girls to be coordinated for the shoot, but not too matchy-matchy of course. So, they got different dresses in complementary patterns of Palos Verdes voile.
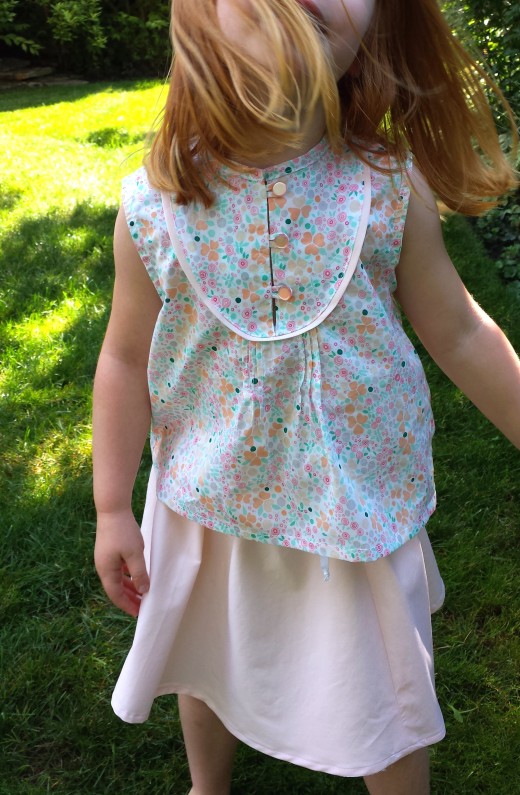
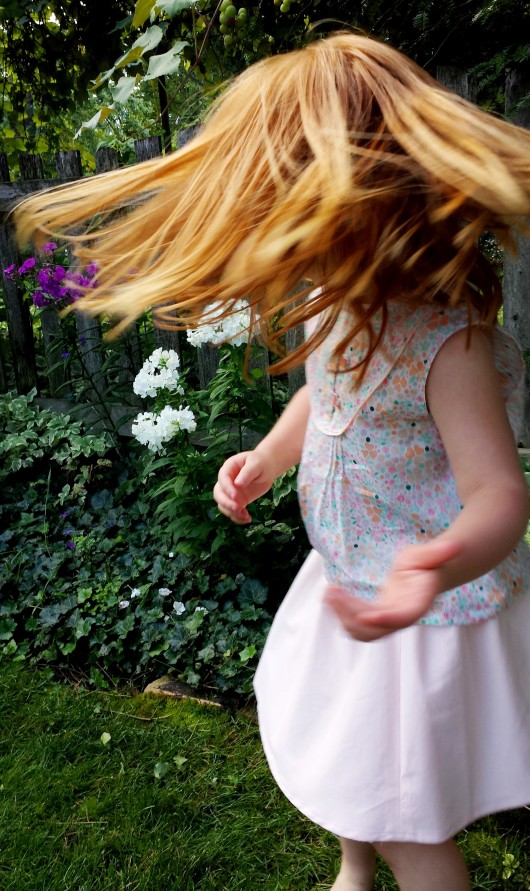
Kiki’s skirt/top combo is the lovely Mara Blouse from Compagnie M and the Swingset Skirt from Oliver & S.
I am a real fan of Marte’s patterns from Compagnie M. I’ve tried a couple of versions of the Louisa Dress and have tried the Mara once before as a dress. I’m also anxious to try the Lotta Dress this fall for Lulu.
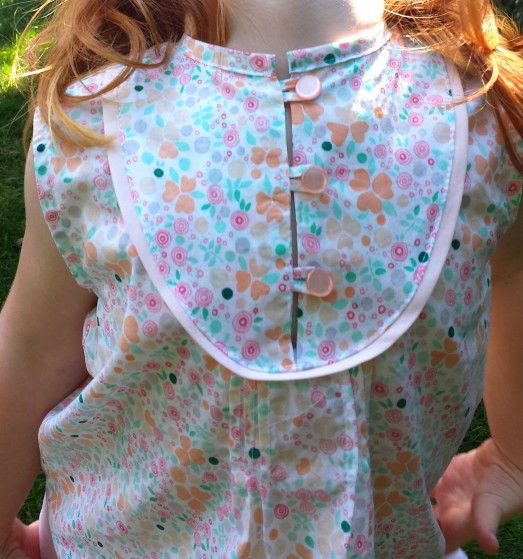
I’m a sucker for pintucks, so this top makes me pretty happy. I also love the yoke and piping details. I used flat piping made from the same fabric as the skirt, which is pale pink cotton shirting from my local fabric shop. I thought corded piping would be too heavy with the voile, and the flat turned out pretty well — plus, it’s faster to make. The lightness of this voile works nicely for this top, I think.
The only change I made was to cut a couple inches off the length. If Kiki was going to wear this with pants or shorts, the original length would’ve been fine. But, the volume of the Swingset Skirt needed a shorter top so that it could achieve maximum twirlability.
This was my first time making the Swingset skirt. And given the fact that Kiki will wear nothing but skirts everyday, I’m glad to add this one to my repertoire. The shape is so fun, and the waistband and drawstring make it unique and, dare I day, professional looking?
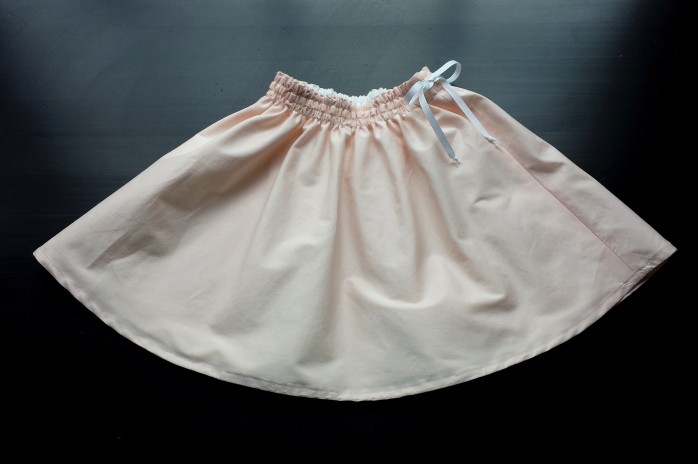 For the lining, I just used white muslin. Before I sewed this up, I had the idea that a lined skirt would feel a bit formal. But now that it’s done, I think the lining makes it fun and gives it more vavavavoom when it’s time to twirl — and let’s face it, for a four year old, it’s always twirl time.
Now, on to Lulu . . .
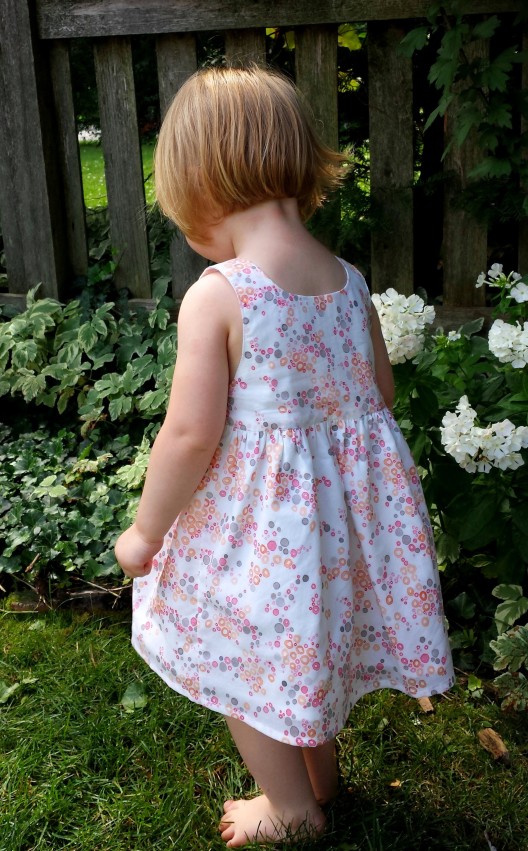
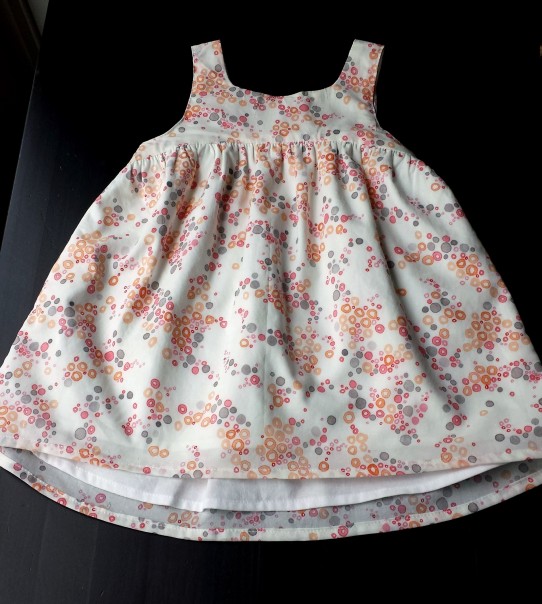
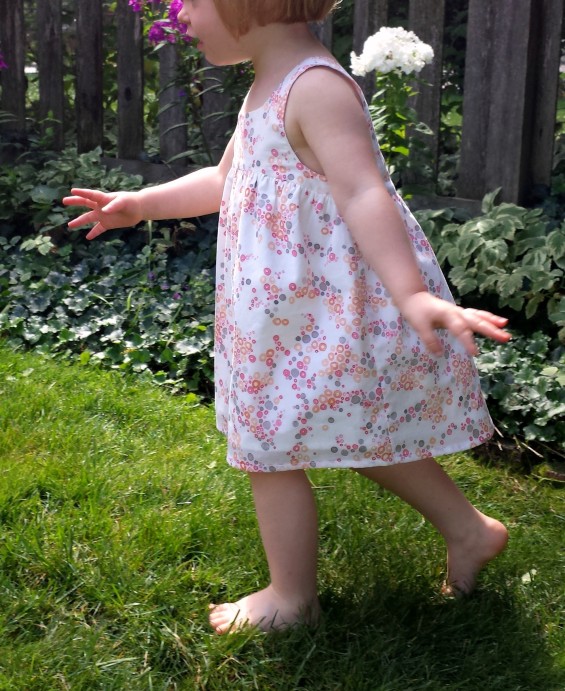
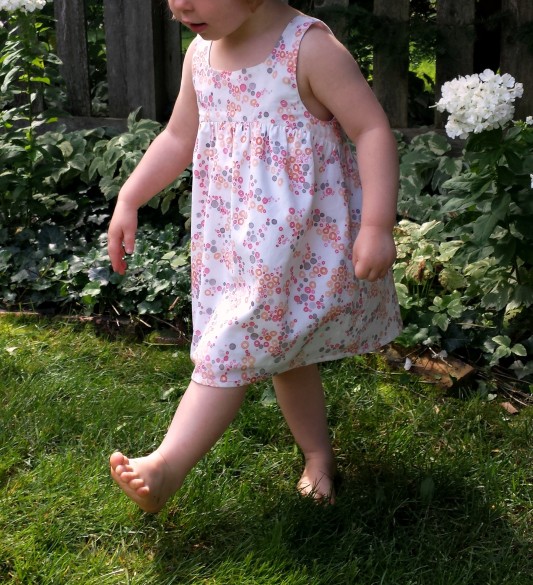 For the little one, I sewed up a Bohemian Babydoll Dress from Elegance & Elephants. The high low bodice and hem was what really sold me on this dress, and is what makes it stand out from other dresses with a similar shape. There are no closures, which makes it fast and pretty simple to sew. Honestly, in my experience, dresses without closures tend to be hard to get little arms into and out of — but Lulu and I haven’t had too much trouble with this one.
 This pattern calls for a lined bodice with an unlined skirt. I was planning on making mine that way, but once I saw the sheerness of the voile, I decided that the skirt really needed a lining too. Luckily, I had the Swingset Skirt lining instructions handy, which served as the perfect guide. I cut the lining (from the same white muslin that I used on Kiki’s skirt) an inch or so shorter than the main fabric of the skirt. Then, I basted and gathered them together as one piece. Easy peasy.
 The next time I make this dress — and I’m sure there will be a next time — I think I’ll follow Erin of Hungie Gungie’s suggestion of using the “Sausage Step” to attach the lining to the bodice at the armholes. Yes, I love that name, too 🙂 The pattern instructions have you press the raw edges of the bodice and lining armholes under separately and then top stitch them together. This other method allows you to sew them together with right sides facing and turn it all out magically. Erin leads you to this tutorial from Heidi of Elegance & Elephants, and also to a cool video by Made by Rae. Super helpful.
This pattern includes a very cute hem facing option, which would be pretty awesome in a contrasting fabric. But after some thought, I decided to go with a regular hem here. In my next version in a slightly sturdier fabric, I’ll definitely try it.
So we say farewell to summer, and both girls will be starting preschool in a few days. Hmmmm — it must be time for back to school clothes . . .
 If you visit this blog much, you may recognize this wondrous bird fabric from its previous appearance a few days ago as an Oliver + S Class Picnic Blouse for Kiki. Once that top was done, I just hadn’t had enough birds in my life — so I used every inch of what was left of the birds for a Ribbon Tied Blouse (pattern C) for Lulu from the very popular Japanese sewing book Happy Homemade Sew Chic Kids.
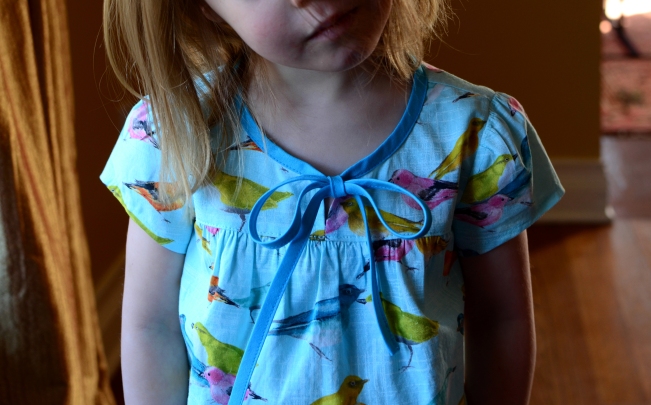 I’ve sewn a ton from this book and am nowhere near finished with it. I have made this blouse before in a fabulous Japanese fish print, and it sadly didn’t get much wear. I think I passed it onto one of Kiki’s preschool friends so that it might get the wear it deserved. I’m hoping that Lulu will sport this one all spring and summer, and maybe even next year as well.
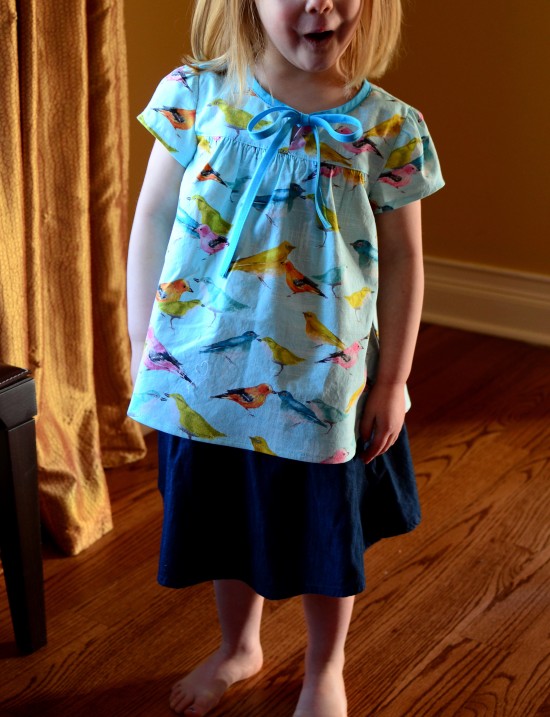
 Lulu’s measurements lie somewhere between a size 2 and size 4. I tried on the size two dress I made for her two years ago from the same book, and it was a little snug in the chest, though wearable. So I opted to go for a size 4, thinking there would be room to grow — which there definitely is. But despite it’s extra blousy-ness in the size 4, I think this kid can pull it off.


